Pipeline settings
A pipeline’s Settings tab holds the options that shape what it writes. What you see depends on the kind of data the pipeline moves. Select Save settings before leaving the page, or your changes are lost.
Products settings
Section titled “Products settings”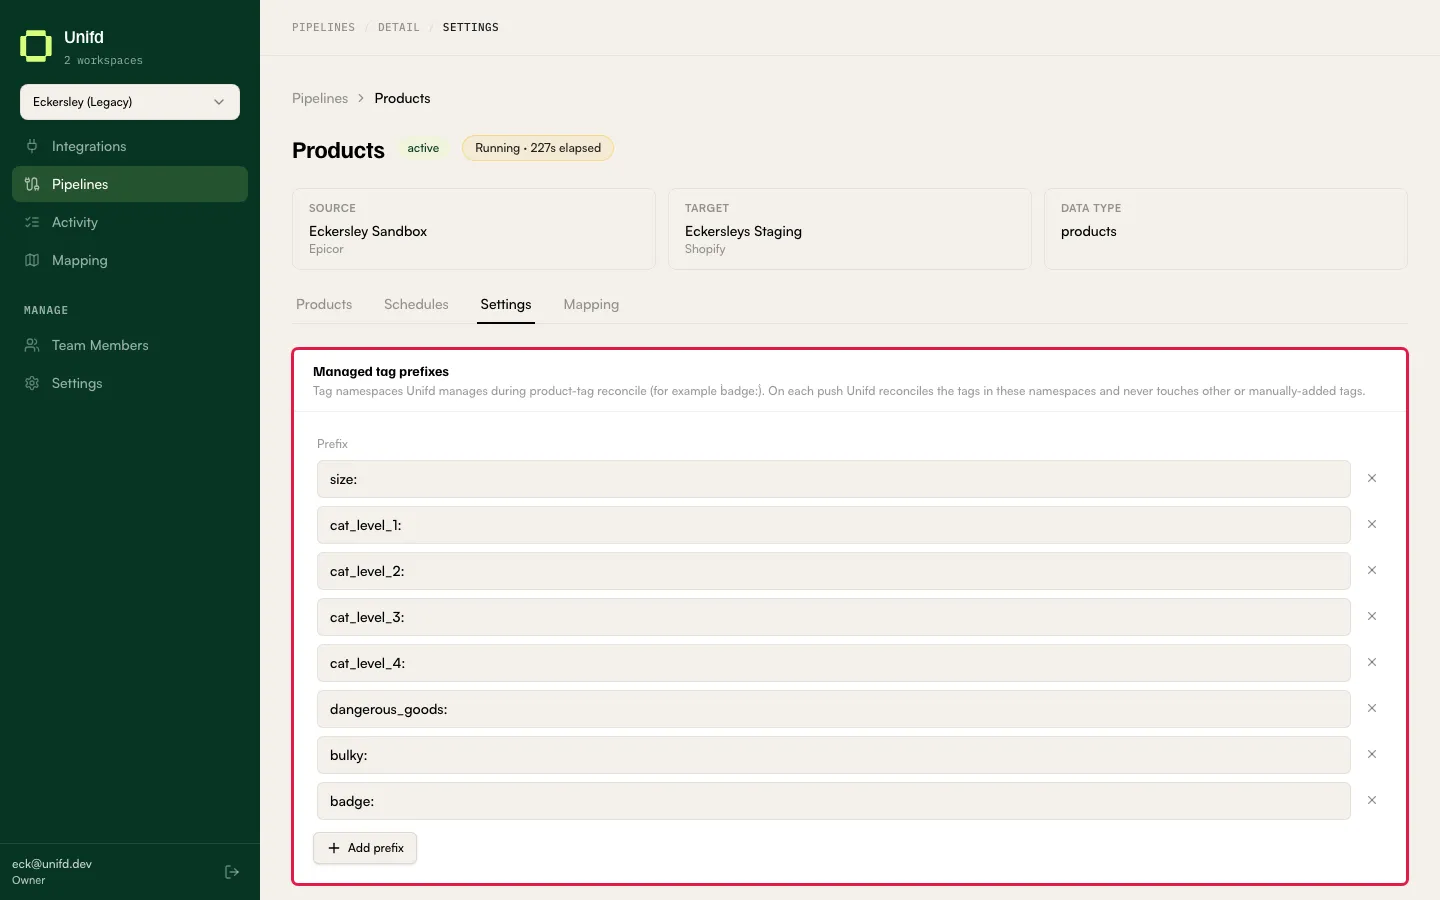
Managed tag prefixes decides which product tags Unifd is allowed to control on your storefront.
You list the tag namespaces to manage — for example badge:. On each push, Unifd
reconciles the tags in those namespaces and, in the page’s own words, “never
touches other or manually-added tags”.
This is what keeps Unifd from wiping tags your team adds by hand on the storefront. Only name a prefix here if you want Unifd to own it completely.
Existing prefixes are listed in a Prefix table, one per row, each with a remove control. Use Add prefix to add another, then Save settings. With none configured the page reads “No prefixes configured.”
Inventory settings
Section titled “Inventory settings”Reference data mappings is where you pair up entries from your source system and your storefront so stock lands in the right place.
- Locations — pair source warehouses with storefront locations. Shows a count of existing mappings and an Edit button. See below.
- Tax zones and Customer groups — both marked “Coming soon”.
Reconcile locations activates every synced stock item at all of your mapped locations. It is worth running after you change your location mappings, so existing items pick up the new ones. It stays unavailable until you have at least one mapping — the page says “Add at least one location mapping above before reconciling.”
Location mappings
Section titled “Location mappings”Open Edit next to Locations, or go to the pipeline’s Settings → Location mappings.
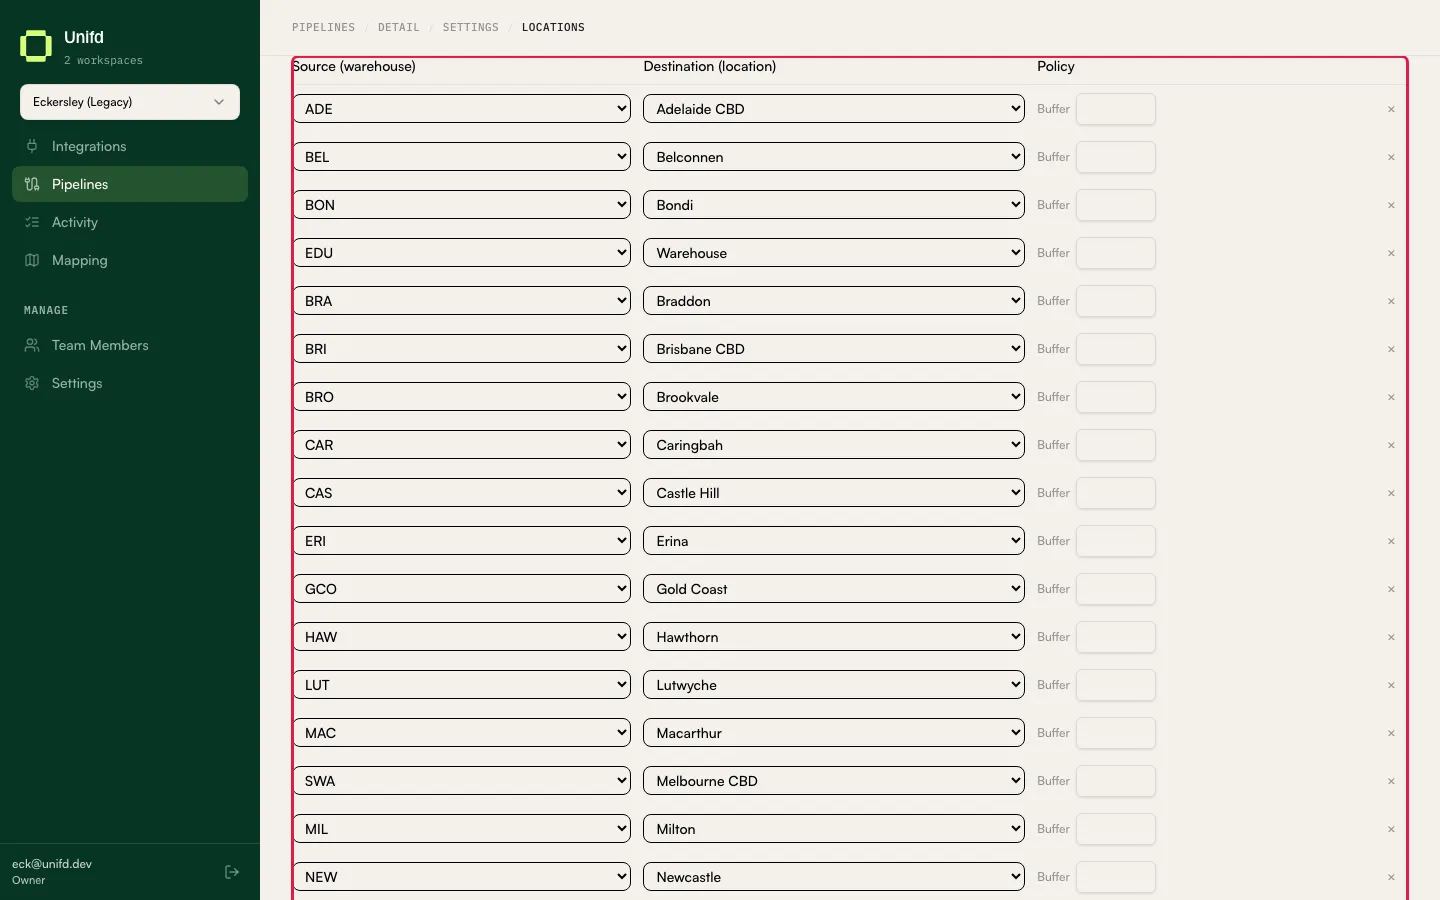
You are pairing each Source (warehouse) with a Destination (location) and a Policy. This is what tells Unifd that stock counted in one of your warehouses should appear against a particular storefront location.
- + Add mapping adds a row.
- Copy from sibling pipeline… reuses the mappings from another pipeline in the workspace, rather than retyping them.
- Save applies your changes.
Until locations are mapped, the pipeline’s header carries a
No location mappings configured warning.
This screen needs to know your real warehouses and storefront locations before it can offer them. If it says “No integration resources synced yet. Sync the source and destination integrations first (visit each integration’s page to trigger a refresh)”, do that first — see Integrations.
Orders settings
Section titled “Orders settings”Orders pipelines have the most settings, because an order has to be translated into the vocabulary your source system uses.
Timezone — the timezone for order timestamps written to your source system. Leave it blank and your storefront’s own timezone is used.
Shipping methods — pair each storefront shipping option with the matching freight code or pickup store in your source system. Each shipping method on an incoming order is matched here, and the paired code is what gets sent on. Use Add freight option to add a pair.
Payment gateways — pair the payment gateway names your storefront reports with your source system’s payment codes. Use Add payment gateway.
If an order arrives using a shipping method or payment gateway you have not paired, there is nothing to translate it to — so keep these lists current when you add options on your storefront.
POS — marked “Not yet supported.”
Market filter — only relevant when more than one orders pipeline is active in the workspace. Each pipeline’s filter narrows which orders it accepts, by Currency, Shipping country, and optionally a single storefront Market. Leaving a field empty matches anything. Two active pipelines whose filters overlap are rejected when you save, so each order has exactly one pipeline that claims it.